Our handy guide will help ease any worries you may have and help you create a beautiful centrepiece for your garden.
Build a pond in a weekend
It can often be daunting when planning your pond build but you do not need to be a pond-building specialist to undertake this type of project.
Hopefully our handy guide will help ease any worries you may have and help you create a beautiful centrepiece for your garden.
Planning
It is very important to plan ahead to lessen the work as well as the cost. Here are some things to consider:
- Location – Ideally in an area with a good mixture of sun and shade, steer clear of trees with heavy root systems and away from deciduous trees as autumn leaves falling onto the pond will create unwanted debris (you can use a pond skimmer to tackle this issue if needed).
- Depth – Are you having a purely decorative pond? If so we recommend a depth of minimum 0.6m. A few goldfish? A depth between 0.6m – 1.00m is ideal. Koi ponds or heavily stocked goldfish ponds? A minimum depth of 1m is needed.
- Shape – There are no real restrictions to the shape or size of your pond – try laying string down as a guide. Bear in mind that sloping sides are helpful for any wildlife that will be attracted to your pond.
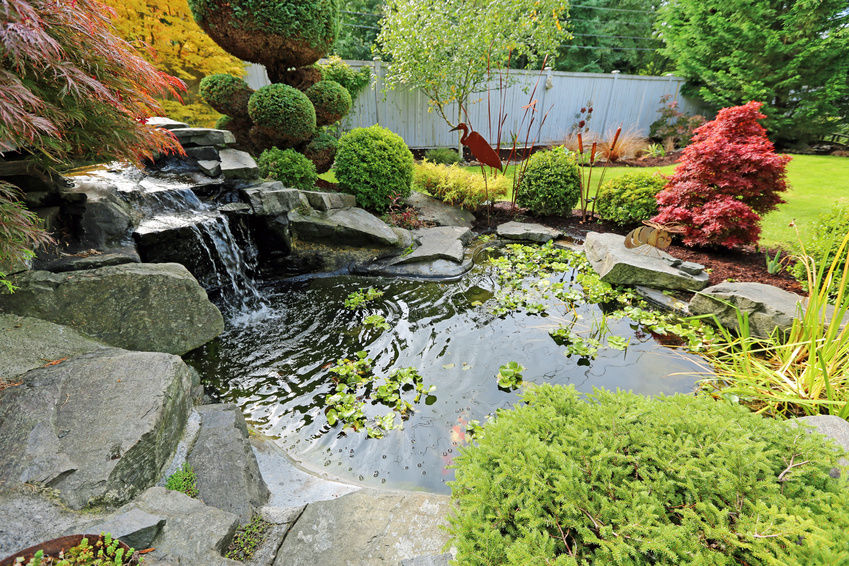
- Waterfall – If you plan on having a waterfall you need to consider whether you will use a preformed watercourse or create your own.
- Plants – most people will want some type of plants in the pond as they look great as well as providing vital oxygen for your fish. Consider factoring in shelving in the pond to accommodate the plants.
- Equipment – If you are keeping fish it is necessary to have a filtration system in place to remove any toxins and dirt from the water.
Choosing the lining
Using the following calculation, work out what size liner you will need for your pond.
Liner length = max length (m) + (2 x max depth [m]) + 1 (for overlap)
Liner width = max width (m) + (2 x max depth [m]) + 1 (for overlap)
You can then choose from a range of pond liners and underlay.
Day One
Excavation
After you have marked out the shape of your pond (during the planning stage) you can begin digging! It is advised to dig the perimeter with a spade, digging inwards from the outside edge. Excess dirt can be used to fashion shelves, elevated areas and to level the outer edge of the pond.
Fitting the liner
Once the pond is dug and all sharp stones have been removed, place the underlay down on the base and sides of the excavation. Working it into all the corners of the excavated area, starting from the middle and working your way out. Be sure to leave it loose to allow for movement and settling in the future. Lay your liner over the underlay and follow the same process.
Should you need to tread on the liner be sure to remove shoes to avoid piercing it!
Run water into the pond gradually, at the same time pulling and tucking the liner into shape to ensure a neat finish. Fill the pond completely and leave overnight to ensure proper settlement.
Day Two
The following day you may notice that the water level has dropped, this is completely normal and is caused by the water moving into all the crevices. You can now trim off any excess pond liner and underlay, leaving a minimum of 30cm overlap for anchorage. Now would be the ideal time to treat the water, making it safe for fish.
Edging
Stone liners are a popular and effective way to disguise the overhang from your liner. You can lay this directly over the top of your black pond liner for a decorative perimeter. You can also use stones, paving or even turf to finish off this edging.
Equipment & Plants
Now is the time to add any equipment and plants you require to the pond. If you are keeping fish then you will need a filtration system to remove dirt from the water.
You will need a pump, filter, hose and hose clips to get a basic filtration system started. Situate your pump fully submerged, in a central location within the pond. If you are using a pressurised filter then this can be situated anywhere outside the pond, a box filter will need to be situated at the edge of the pond so that it can flow back naturally. It is best practice to put the filter away from the pump so that water is properly circulated around the pond.